Difference between revisions of "Using the Desktop Icon"
Globalwiki (talk | contribs) m (1 revision) |
Globalwiki (talk | contribs) (→Using SSL) |
||
| Line 132: | Line 132: | ||
| − | + | ||
[[Category:User Guides]] | [[Category:User Guides]] | ||
[[Category:Desktop Icon]] | [[Category:Desktop Icon]] | ||
Latest revision as of 10:47, 17 December 2014
| Related Information: |
Desktop Icon is a Windows or Mac application for submitting and retrieving projects from GlobalSight. Desktop Icon can also use the Web services API that GlobalSight provides.
You can use Desktop Icon to:
- Create jobs
- View jobs and reports
- Configure the connection with GlobalSight
- Set your User Options and Preferences
Click Help for more information.
Contents
Prerequisites
Before starting to use Desktop Icon:
- Download Desktop Icon
- Install Desktop Icon
- Configure Desktop Icon
- Request access from your computer to the GlobalSight server by contacting your administrator. For more information, see the Configuring GlobalSight Web Services section of the Installing GlobalSight on Windows document
Opening Desktop Icon
Windows
To open Desktop Icon on Windows, you can either:
- Double-click the GlobalSight Desktop Icon shortcut on your desktop
- Click Start->All Programs->GlobalSight Desktop Icon->Run Desktop Icon
For problems opening Desktop Icon with Windows 7, try running as an administrator:
- Right-click the GlobalSight Desktop Icon shortcut on your desktop
- Click Properties
- Click Advanced on the Shortcut tab
- Check Run as administrator and click OK
- Retry using the icon on your desktop
Mac
To open Desktop Icon on a Mac, we suggest:
- Double-clicking GlobalSight Desktop Icon.app in the Applications directory, or moving it onto the dock
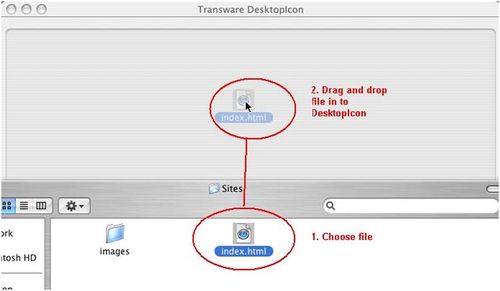
- Opening it using DesktopIcon.applescript, which also supports drag and drop
Creating jobs
Desktop Icon is the best way of creating a translation job. You can decide all details of the job, such as the files to be translated, the target languages, the tasks to be performed, the order in which they are performed and so on. The aim of creating a job is to submit it successfully to GlobalSight.
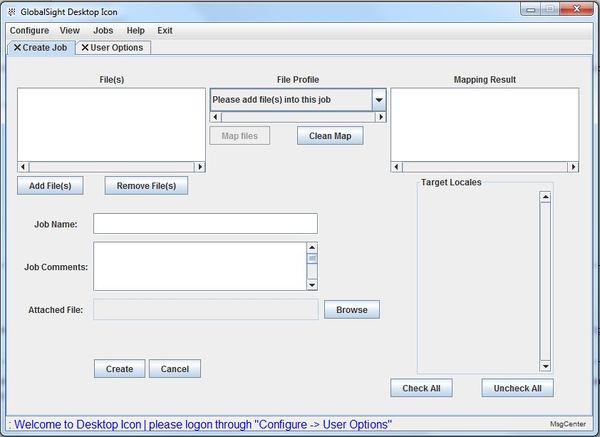
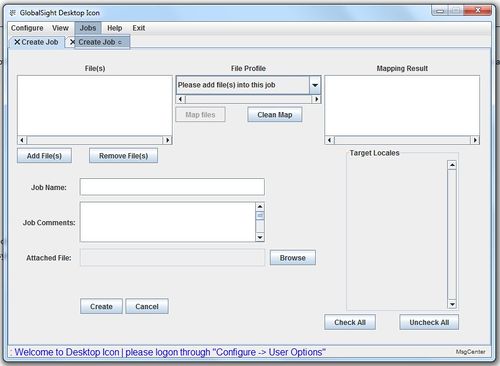
To create jobs, select Jobs->Create Job.
Creating a job involves five steps:
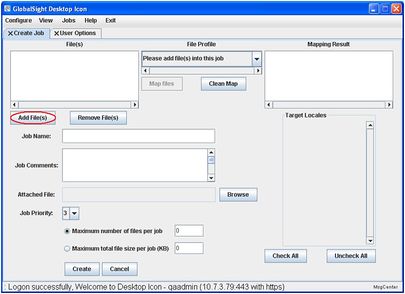
1. Adding the files: The first step is to add the files for translation. You can select and add the files to a job in three ways:
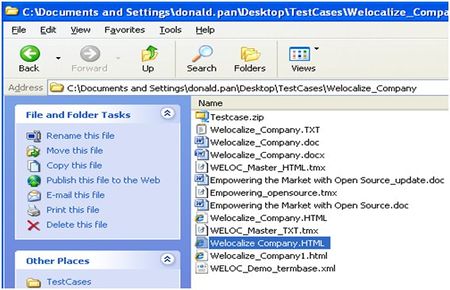
- Drag and drop the files, or even zip files containing the files, from your file system directly to Desktop Icon directly
- Copy and paste the files, or zip files containing the files
- Click Add File(s) and browse to the files
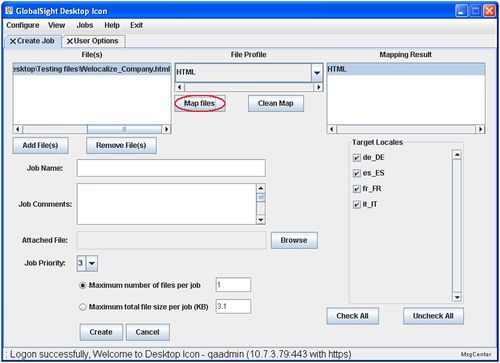
2. Mapping the files to file profiles: Once you have added the files, the next obvious step is to tell the system what you want done with them. In GlobalSight, this means mapping each file to a file profile
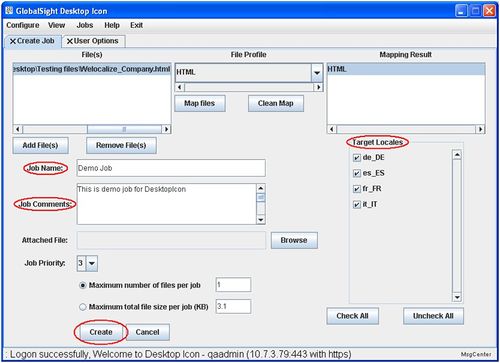
3. Entering a Job name and Job comments
4. Selecting the target locales. The locales shown are those called up automatically when the files are mapped to the file profiles
5. Clicking Create
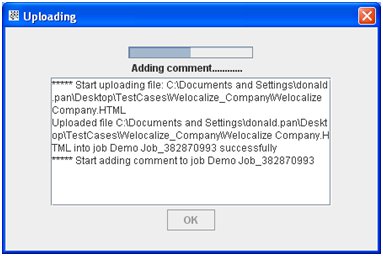
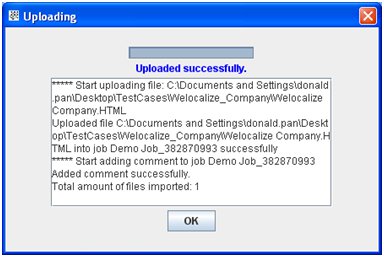
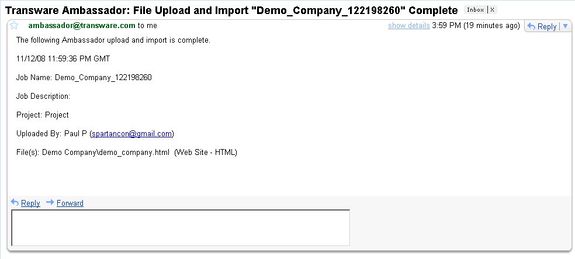
An "Uploaded successfully" box pops up if the job has been created without any problems. You also receive confirmation by e-mail.
You can now see the new job by clicking View->Jobs in Progress. You can then either create more jobs, or close the Desktop Icon.
Viewing jobs and reports
You can view information on jobs that are pending or already in progress, as well as other reports such as log files. The job information is shown in GlobalSight, which launches automatically according to your current user account.
Click View to choose from:
- Jobs in Progress
- Jobs Pending
- Reports, in the form of log files
File:UsingDI5.jpg Viewing jobs and reports on a Mac |
Setting your User Options and Preferences
You can also set your User Options and your Preferences for creating jobs.
User Options
User Options allow you to set your settings for:
- User Info: add your settings for configuring Desktop Icon
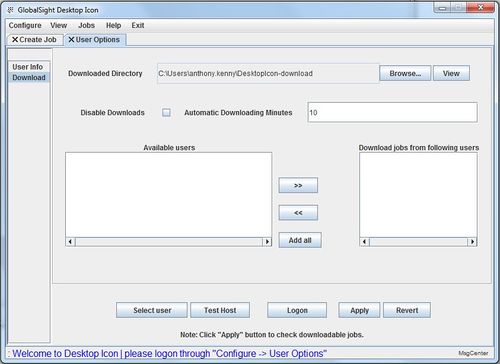
- Download: change your download directory, disable downloads and download jobs from specified users
Preferences
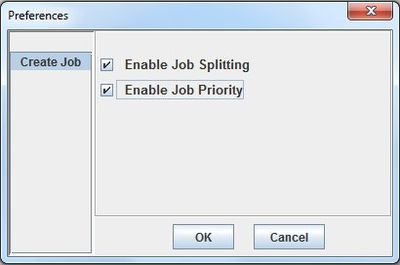
You can decide your preferences for creating jobs. You can choose whether to:
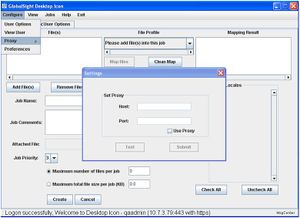
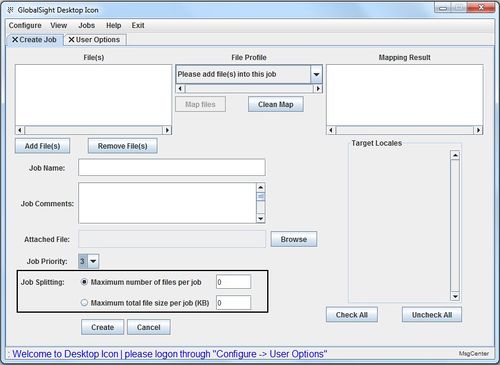
- Enable Job Splitting: Job Splitting allows you to divide up large jobs with many files into a number of smaller jobs. You can set the maximum number of files per job or the maximum size per job, and Desktop Icon splits the job into several batches accordingly. The first batches can go through QA while the rest of the batches are being translated
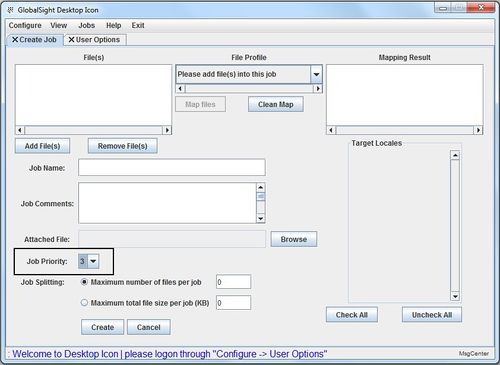
- Enable Job Priority: Job Priority allows you to create jobs with different levels of importance, from 1-5. The default is 3
To set your Preferences:
- Click Configure->Preferences
- Click the Create Job options in the Preferences box
- Enable Job Splitting
- Enable Job Priority
- Click OK
- Re-start Desktop Icon to apply the changes
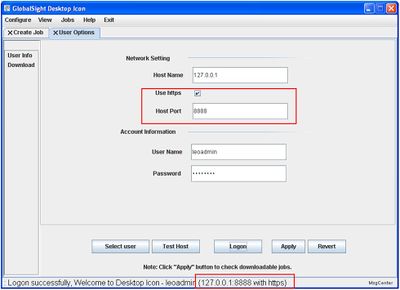
Using SSL
To use SSL with the Desktop Icon:
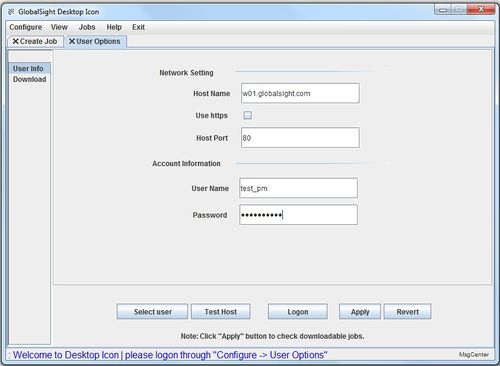
- Select Configure->User Options
- Add the GlobalSight server address (Host Name) under Network Setting
- Check Use https
- Add the Host Port
- Enter the User Name and Password under Account Information
- Click Logon to login with HTTPS

