Creating Translation Memory Profiles
A Translation Memory Profile (TM profile) specifies the TM to be used.
The TM profile also sets the segmentation rules, reference TMs, penalty rules and various leverage options.
Contents
Creating a TM profile means:
- Creating the profile itself
- Setting up segmentation rules
- Setting up TM population options
- Setting up leverage options and penalties
Creating TM Profiles
Creating the Profile
To create a TM profile:
- Log in to GlobalSight as an admin
- Click Translation Memory Profiles in the FileSystem Guide
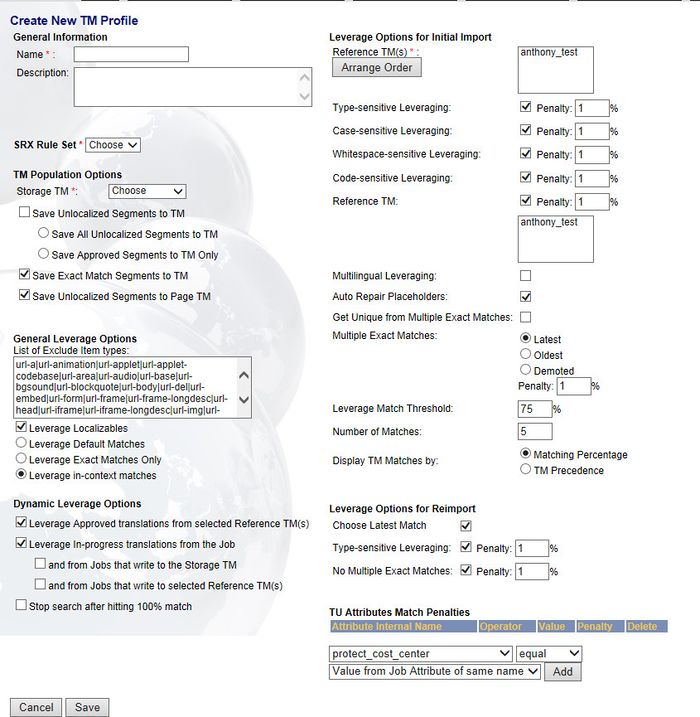
- Click New. The Create New TM Profile page opens
- Enter a Name and a Description
Setting up Segmentation Rules
GlobalSight segments text into translatable units (TUs) based on a segmentation rule. The rule that is used depends on the file profile chosen when creating the job. The segmentation rule is also tied to the TM Profile.
You can use the default set of rules provided or create your own.
To use the default rules, set the SRX Rule Set to Default.
Creating Segmentation Rules
You can also create specific rules if the jobs segmented are not suitable. The rules are defined by the LISA standard SRX 2.0.
For example, you may be importing a TM perhaps from another TMS, such as WorldServer. The TM is segmented in a certain way, so the source files that you import must match that segmentation.
You can use XML rules to fine-tune the segmentation to match the segmentation patterns in your TMs.
To edit the rules:
- Open the SRX file in any XML editor, such as Notepad
- Edit the rule as needed
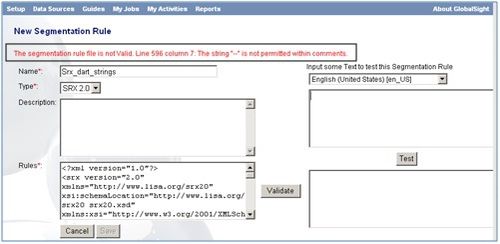
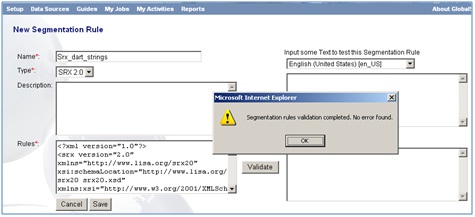
- Copy the content to the Rules field for validation. The rule must be validated before you can save it. An error message shows if there are validity issues
- Continue editing all problems are solved and the validation window opens
To test that the strings work:
- Copy some strings that are to be translated into the text field at the top
- Click Test. The segmented string units that result show as numbered segments in the text field at the bottom box. If the segmented strings are not the result expected, you can modify the rule and re-validate it
Creating a specific rule to get the segmented string units
You can also create a specific rule to get the segmented string units. Segmentation rules themselves are represented using regular expressions. For more details, see section 1.2. Regular Expressions of SQX 2.0 at lisa.org.
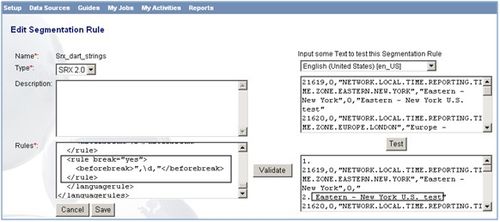
- Check every line of words around the strings to be translated. For example in the first line it is Eastern – New York U. S. test
- Find their common character. In this case, there is a '0' character in front of all of the strings to be translated
- Add the following rule to separate the string to be translated from the '0' character. In this rule, ",0," is represented using ",\d,". The character ‘\d’ is defined to match any character with the Unicode General Category of Nd (Number, Decimal Digit). In this case, the number ‘0’ may be represented by ‘\d’
 <rule break="yes">
   <beforebreak>",\d,"</beforebreak>
 </rule>
- Click Test
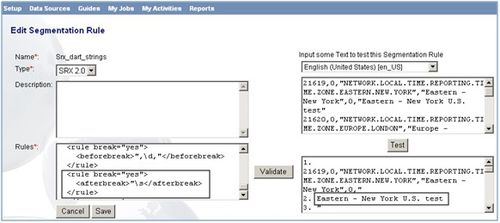
- Similarly, ‘and’ is at the back of all the strings to be translated and is also the end character of the line. Use the following rule to separate it from the string unit to be translated from
 <rule break="yes">
   <afterbreak>"\s</afterbreak>
 </rule>
- Click Test
The segmentation rule is saved and shows in the SRX Rule Set list. The rule is applied to jobs that are related to the segmentation.
Setting up TM Population Options
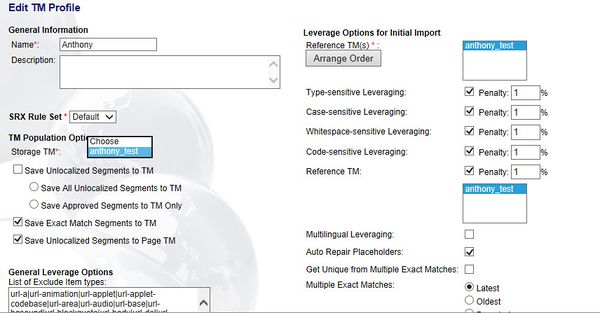
You cab set the storage and reference TMs that are used.
Reference TMs are similar to TM Groups in WorldServer, although GlobalSight TMs do not have hierarchical orders.
The TM profile can only set one TM as the Storage TM, but it can set more than one TM as Reference TM(s).
All TMs show in the Storage TM and Reference TM lists.
To set the TM options:
- Select the Storage TM
- Select the Reference TM
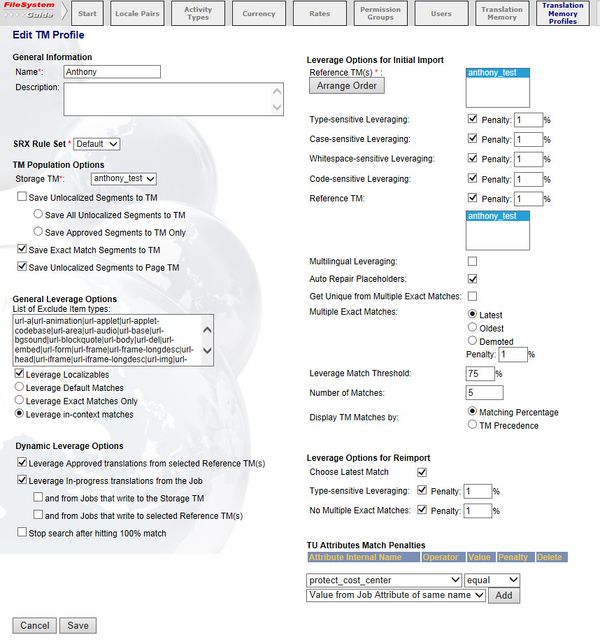
Setting up Leverage Options
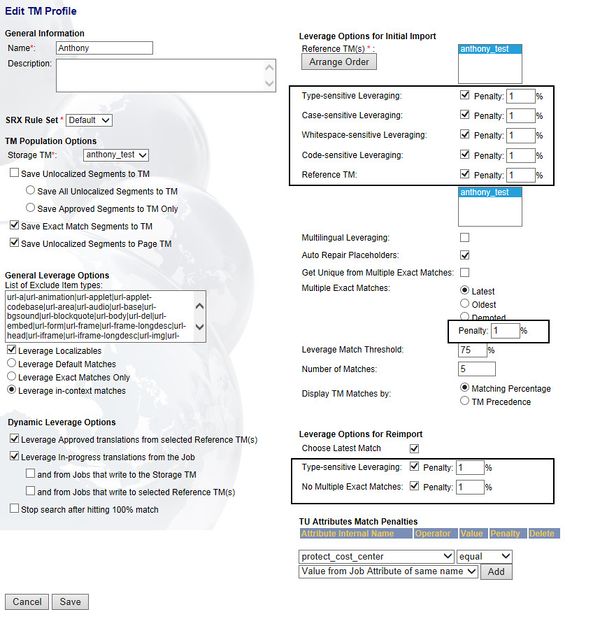
You can also set up leverage options and penalties.
The penalty setting affects the fuzzy match and the exact match percentage.
You can edit these settings as needed.
All penalties are selected and set to 1% by default. For example, a new segment is compared to segments in the TM during leveraging. If a segment differs in “case-sensitivity” (lower-case vs. upper-case), the fuzzy match percentage is reduced by the penalty amount set.
You can also stop searching once a 100% match is found by clicking Stop search after hitting 100% match.
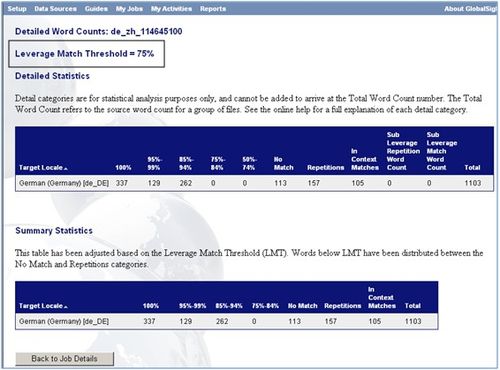
The Leverage Match threshold affects the Detailed Statistics. When a segment match percentage falls below the amount specified, it is considered “No Match”.
Click Save once all settings are made. The new TM profile is created.
The TM profile is not a global setting. Different TM settings can still be applied for different translation jobs.
Support for Microsoft Machine Translation
Microsoft Translator is now supported in this GlobalSight release.
To set it up:
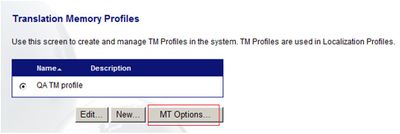
- Go to Translation Memory Profile, select one of the profiles and click MT Options
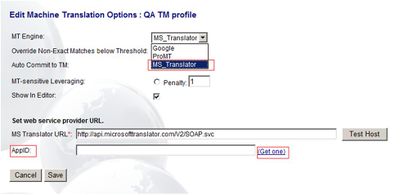
- Select MS_Translator as the MT Engine. The MS Translator URL (http://api.microsofttranslator.com/V2/SOAP.svc) appears automatically
- Enter your AppID, if you have one
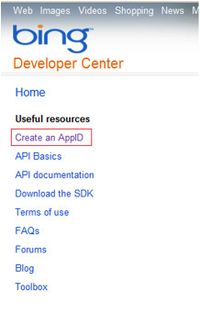
- To get an AppID, click Get one. You are directed to the Microsoft Bing Developer Center to request one
- To get an AppID, click Get one. You are directed to the Microsoft Bing Developer Center to request one
TM sharing between GlobalSights
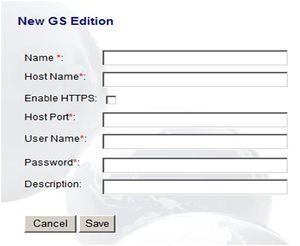
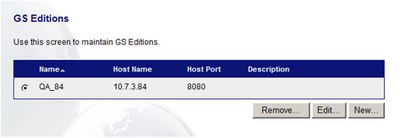
Click GS Edition to create a new GS Edition, and add the information required:
- Name: enter the name of the GS Edition
- Host Name: enter the host name or IP to the remote server
- Enable HTTPS: state whether the target server is using the HTTPS protocol
- Host Port: enter the host port of the remote server
- User Name: enter the user name to login to the remote server
- Password: enter the password to login to the remote server
- Description: enter a description for this GS Edition
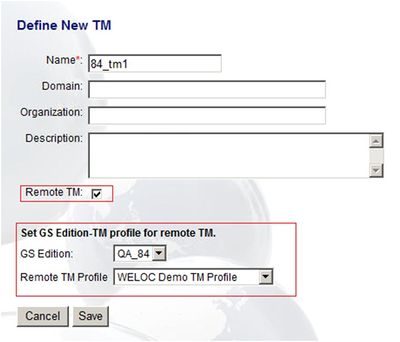
Once the GS Edition is saved, go to Translation Memory to create a new TM
- Click the Remote TM check-box to show that this TM is remote. Set GS Edition-TM profile for remote TM appears
- Select the GS Edition
- Select the Remote TM Profile
- Click Save
